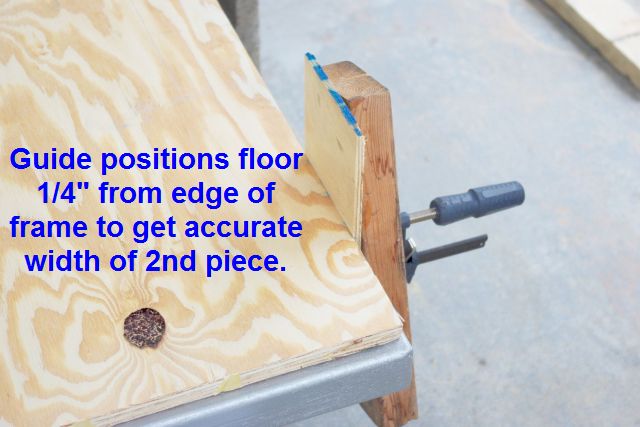
The photo below shows the guide to position the plywood sheet a quarter inch from the edge of the frame so I could measure the width of the 2nd piece.
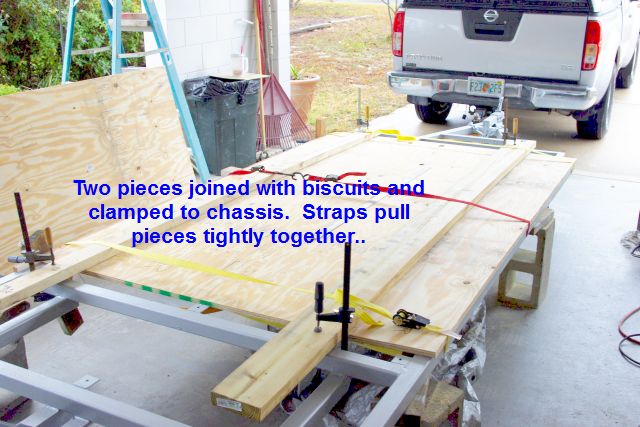
After cutting matching biscuit slots about every 6 inches, I joined the two pieces with biscuits and glue. I used cargo straps to pull the two pieces tightly together, and two timbers clamped to the frame to keep the floor from bowing upward.
January 18, 2011
HOORAY…Clouds parted and we had sun from about 10AM on and up to 75 outside. I finished putting the floor together. I coated the bottom of the foam pieces I’ll install beneath the floor with Gardner’s roof coating, then coated the bottom of the floor as it lay on the chassis frame. I did the foam and a third of the floor with a brush, then decided to try a roller as I hadn’t used one with the roof coating before. I glopped the coating onto the plywood with the brush, then rolled it out. Much easier than brushing, but my back is still complaining.
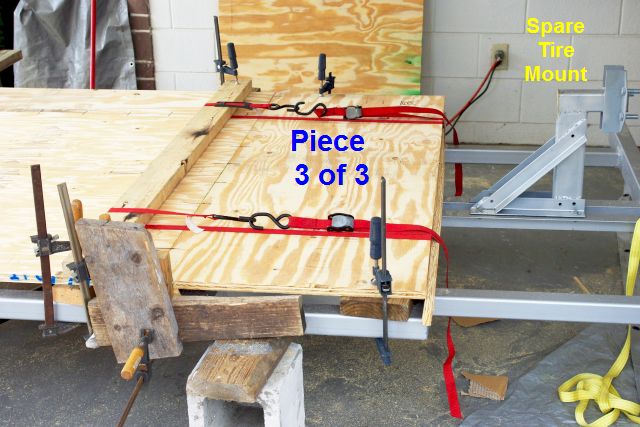
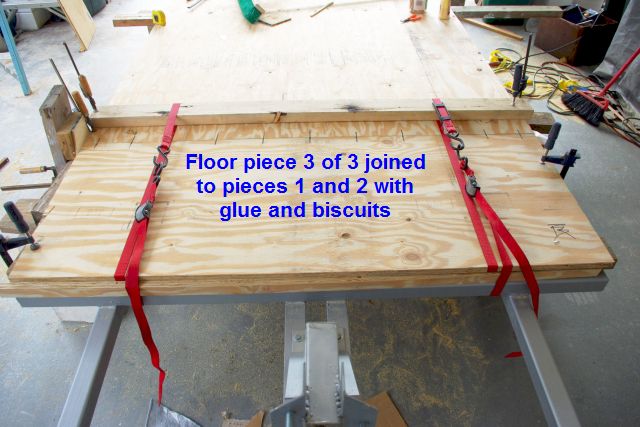
Third and final floor piece attached to the rest of the floor with biscuits and glue.
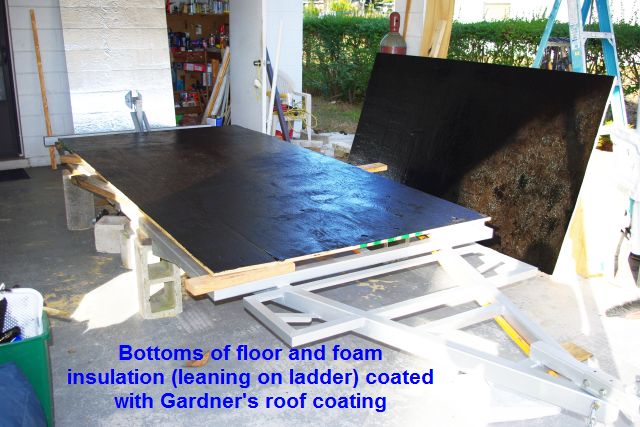
Gardner’s roof coating on the bottom of the floor to protect it from the elements. Foam insulation also with roof coating on the bottom will be installed beneath the floor for additional protection from water, road debris, etc.

PT Build Home Page
Parts and Equipment
Chassis Construction
Cabin Construction
Electrical
-->